Are there some forms you enjoy making over and over again? Some people are really great at doing mugs or plates, cookie jars, or tea pots. I love making bowls, trimming the foot on bowls, and glazing bowls.
Among those forms, I like an open bowl shape that might be a pasta bowl, a decorative fruit bowl or a nice platter for serving vegetables.
To make these forms on the potter’s wheel, I start with a low bowl form but continue to pull it out wider at the top. I take a metal or rubber rib to the bottom half to make sure it has a soft curve and is well compressed so it doesn’t crack there. I like to mark the end of the curve with a wooden tool that indents the clay and accents this area.
Remove wet, soppy clay at the bottom, and trim this away. If the lip of the bowl needs rounding with a smooth surface do it now.
Then I use a rib again to lay down the rim. It is the last thing I do. Laying down the rim is exacting, simple and pretty quick. The wheel is spinning slowly and it is just a few turns. If one goes too far, the rim will flop over. It’s an important moment of focus, but with repetition, it comes easily.
When satisfied with the rim, pull the wire under the foot of the bowl to release it from the wheel. Once done, leave the bowl alone – no adjustments. Just get it off the wheel and let it sit. Make sure these forms are leather hard enough to flip without damage or denting before leaving them bottoms up until ready for trimming.
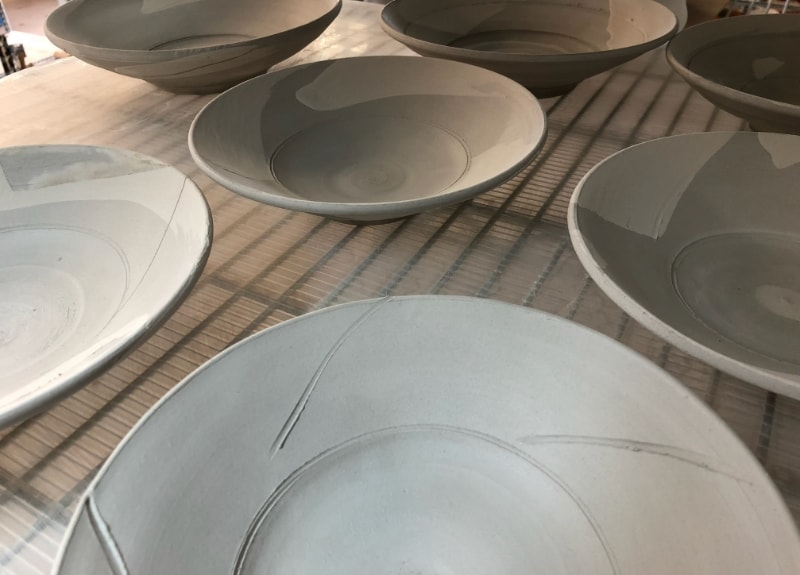
There will be plenty of clay that needs to be trimmed. I prefer a fairly narrow foot, that uplifts and shows off the form of the bowl. After trimming the foot, this is a great time to carve patterns in the damp clay, or do brush work with slips. Then it is ready for the bisque fire.
Glazing is always an exciting challenge because this form is like a curved canvas. There are many invitations to carry the colors and shapes of the inside, over to the outside. There are inner curves, outside bands of the rim, the area of the foot and the lip of the bowl to consider.
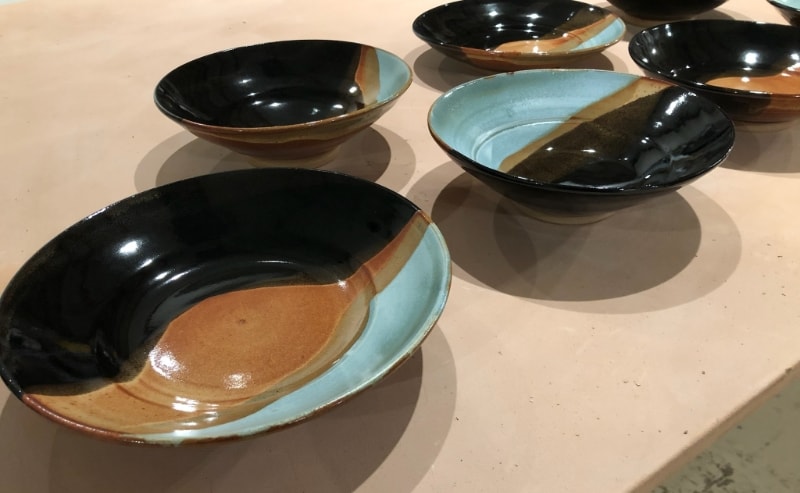
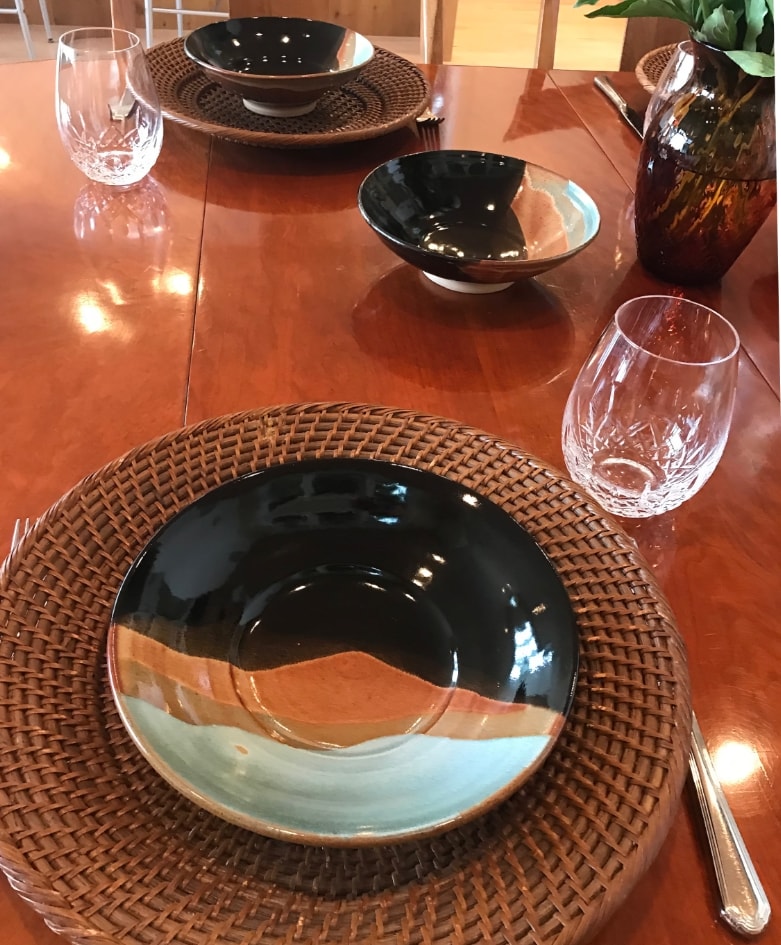
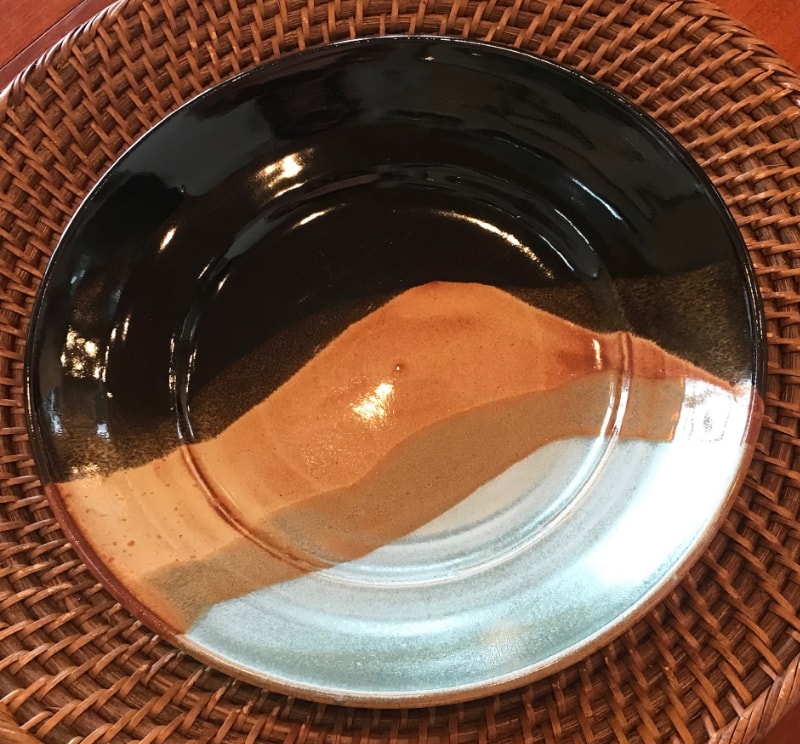
The bowls shown finished here have a very simple but satisfying glaze pattern using just three glazes. The more the glazes overlap, the more variations you can achieve. I keep in mind the wonderful combinations that will make the glazes relate to the form as it is turned or viewed, from above, from the side, and from the bottom.


